|
|
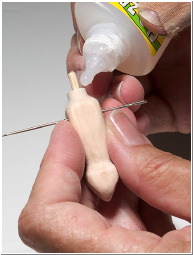
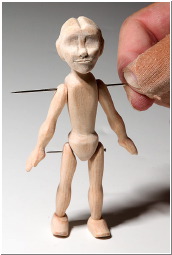
| When gluing the neck peg into the body, be sure to put a large needle through the arm holes so that the peg doesn't accidently drop down to block the arm holes. |
A drop of glue into the head... |
|
|
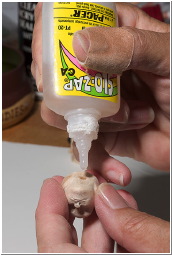
| Now hold them straight until the glue sets. If you get it crooked, your Bitty will be looking off to the side all her life! |
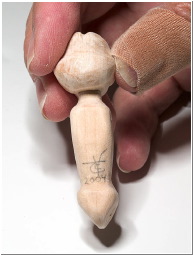
Don't forget to sign your new family member. |
|
|
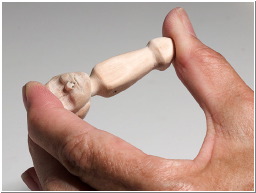
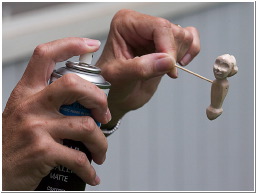
| You can see how tall she will be when strung by putting pins through her holes. I would paint and seal her before doing the final stringing. |
I sealed the model(s) with spray varnish |
|
|
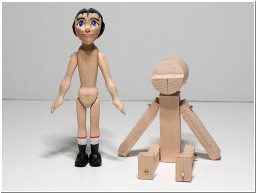
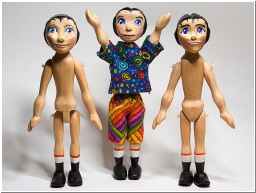
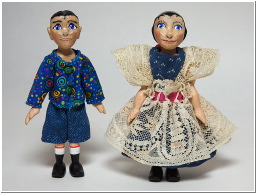
| When painted, our model sits with her sister blank. |
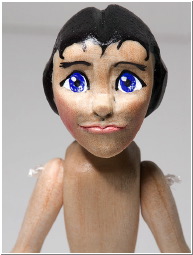
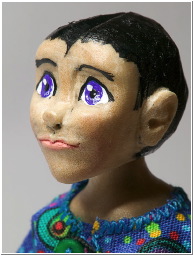
Here's her face all finished. (sort of) |
|
|
| Tessa is proud of the twins - one of each torso type. |
Oops! What's this?? |
|
| Here's a closer picture of his ear. The details were hollowed with a ball burr in a Dremel. |