|
|
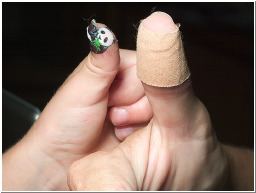
| Step 1: Remember your thumb protection! |
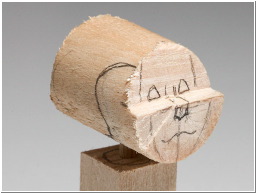
Mark the future face on the blank. The "body" makes a convenient handle. |
|
|
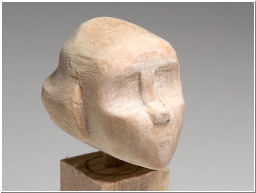
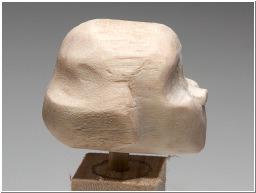
| Mark the line where the hair will fall. Be sure to keep the hair back far enough to allow the face to come forward - otherwise it'll be flat! |
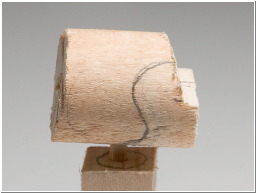
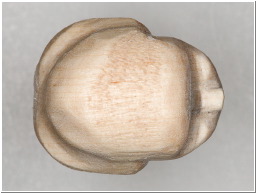
Here we see the face and the hair from the top of the head. |
|
|
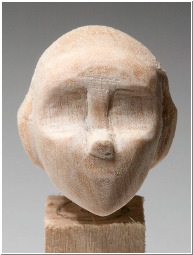
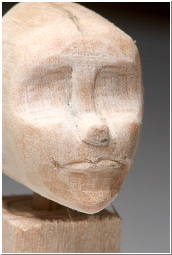
| Carve the face to a vertical ridge that will become the nose and the lips. The convex-curved knife can help with the eye hollows. |
See how the mouth area and the chin protrude. They can always be cut back later, but they can't be put back once gone. |
|
|
| Carve a bit away under the nose - leaving the lip area. Light sanding will show you how the face is shaping up. |
Here's a view from the top of the head. |

|
|
| Pencil in the line of the mouth. It should be half-way between the nose and bottom of the chin. This one is a bit high (more on this later...) |
Cut precisely on top of the pencil line. Then cut a bevel on the top lip and on the bottom lip. Then hollow out gently below the bottom lip. |
|
| Don't forget to take frequent play breaks! It's nice to have an assistant to remind you to stop and play! |